
Diurna User Guide
Part 2: For clerks
This part is for you if you work on client businesses for the firm. You see only the clients assigned to you.
Pick the client
- Use the client picker at the top of the menu: Select Client.
- Choose the client business.
- Everything below now shows that client.
With a single client, its name stands directly in the menu and there is nothing to pick.
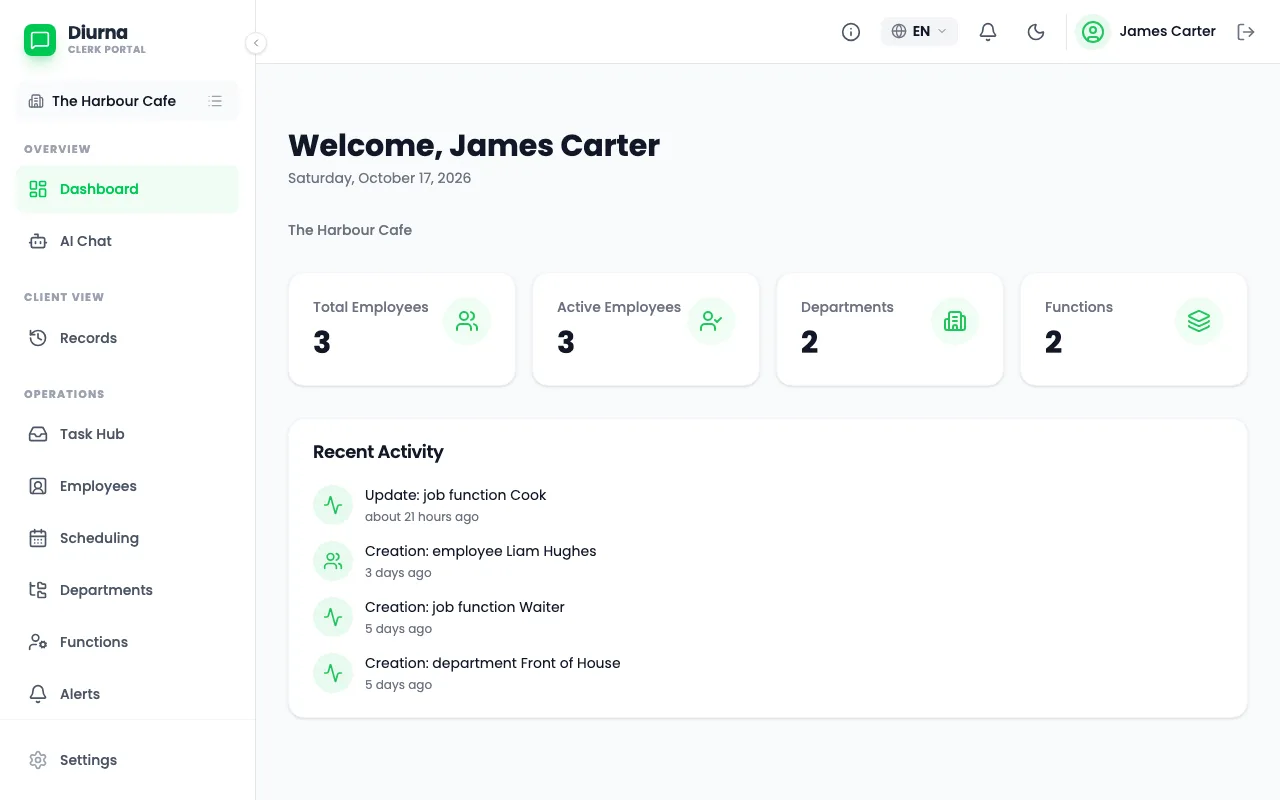
Add an employee
- Open Employees and select Add Employee.
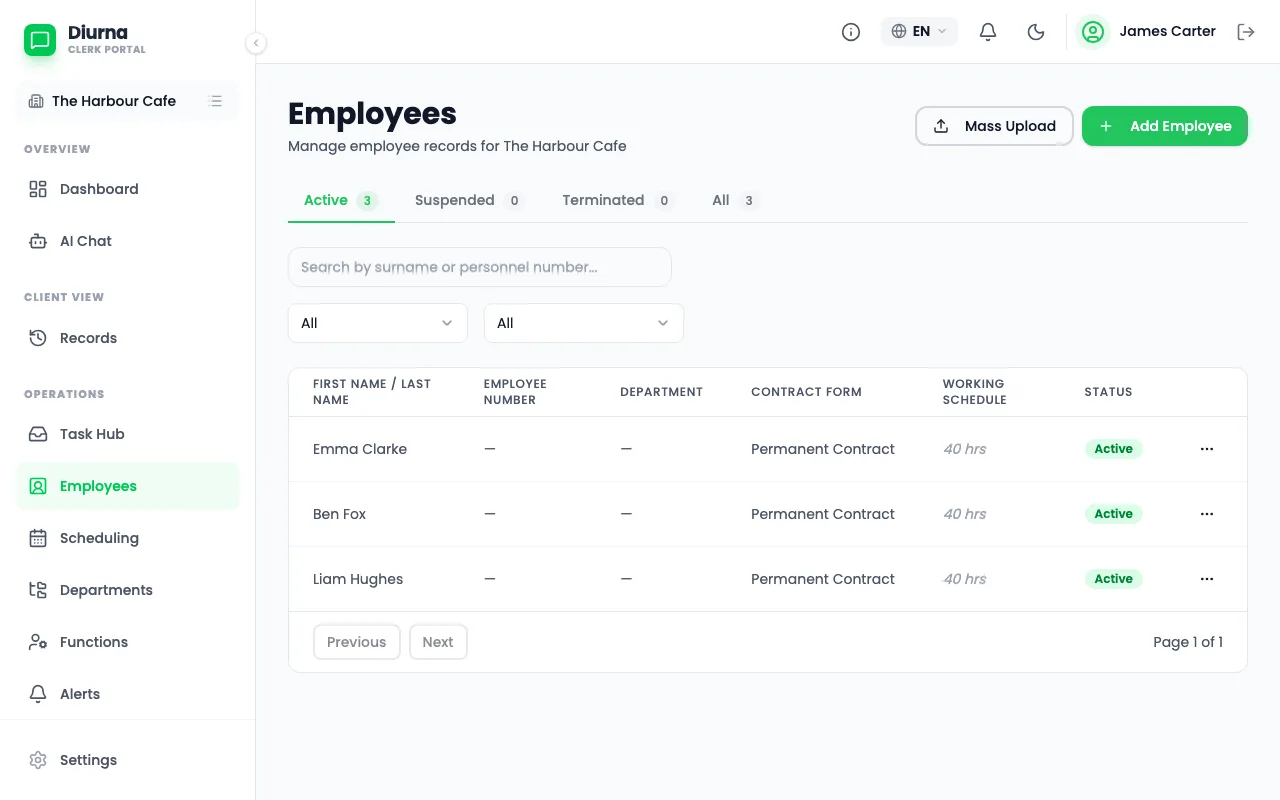
- In Personal & Contract Info, enter the personal data, including Date of Birth.
- In Contract Details & Assignment, enter Contract Type, the contract dates and Weekly Hours.
- In Working Schedule, enter the weekly schedule.
- Save the employee.
The weekly schedule is the employee's planned working time. Keep the date of birth correct, because the app uses it for the checks.
Add many employees at once
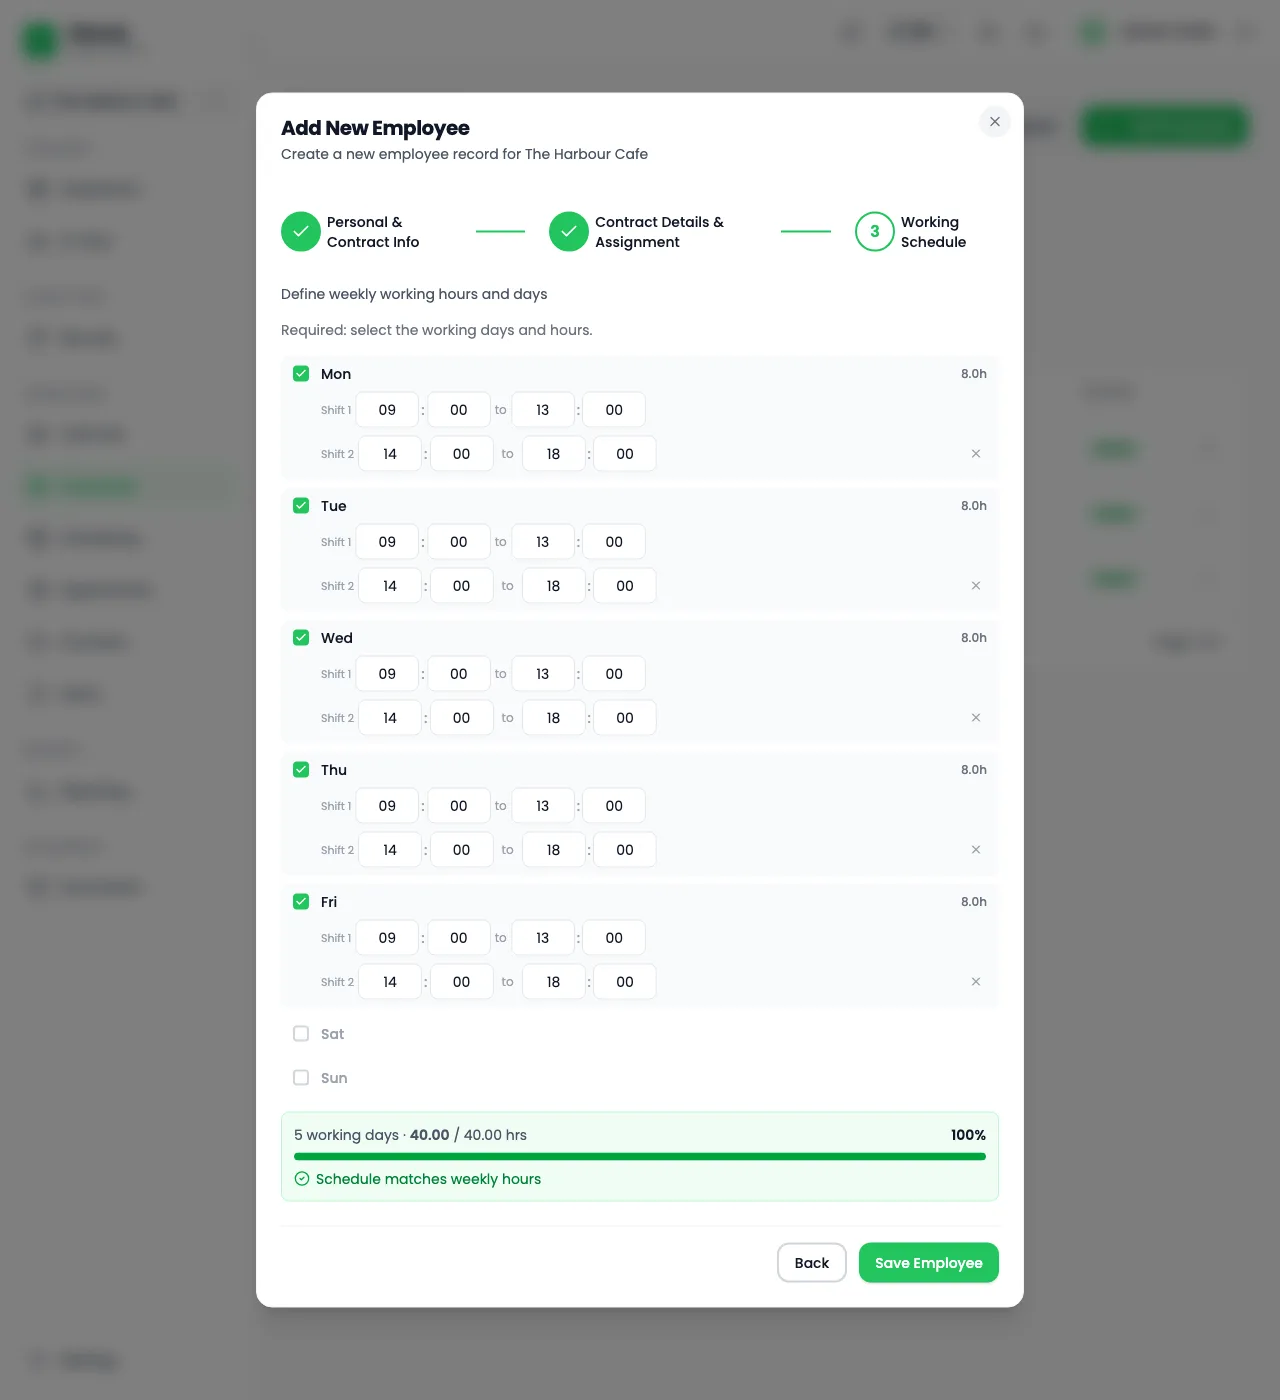
- Open Employees and choose mass upload.
- Select Download CSV Template or Download Excel Template. Filling Instructions explains each column.
- Fill it in and save it as .csv (UTF-8) or .xlsx.
- Drop the file in the box, then select Parse & Validate.
- Check the preview, then select the import button.
Plan
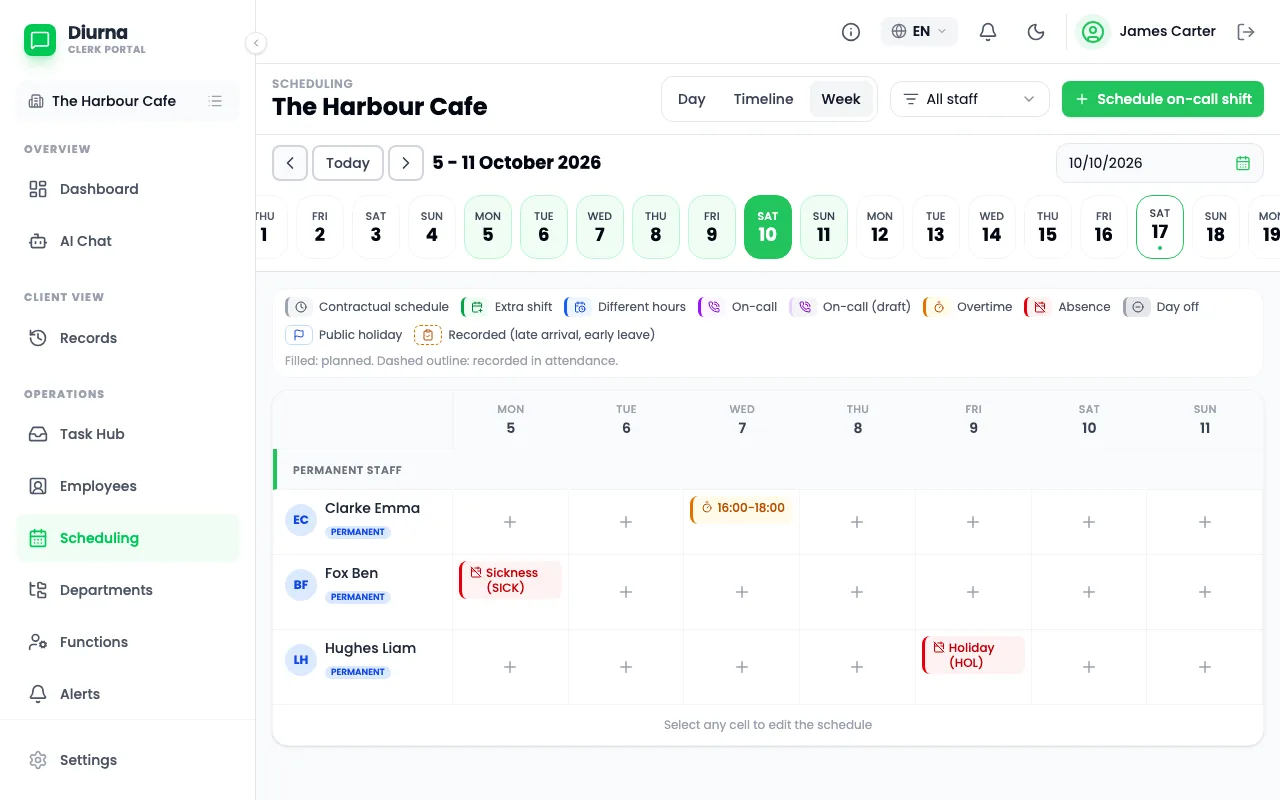
- Open Scheduling.
- Choose a view: Day, Timeline or Week.
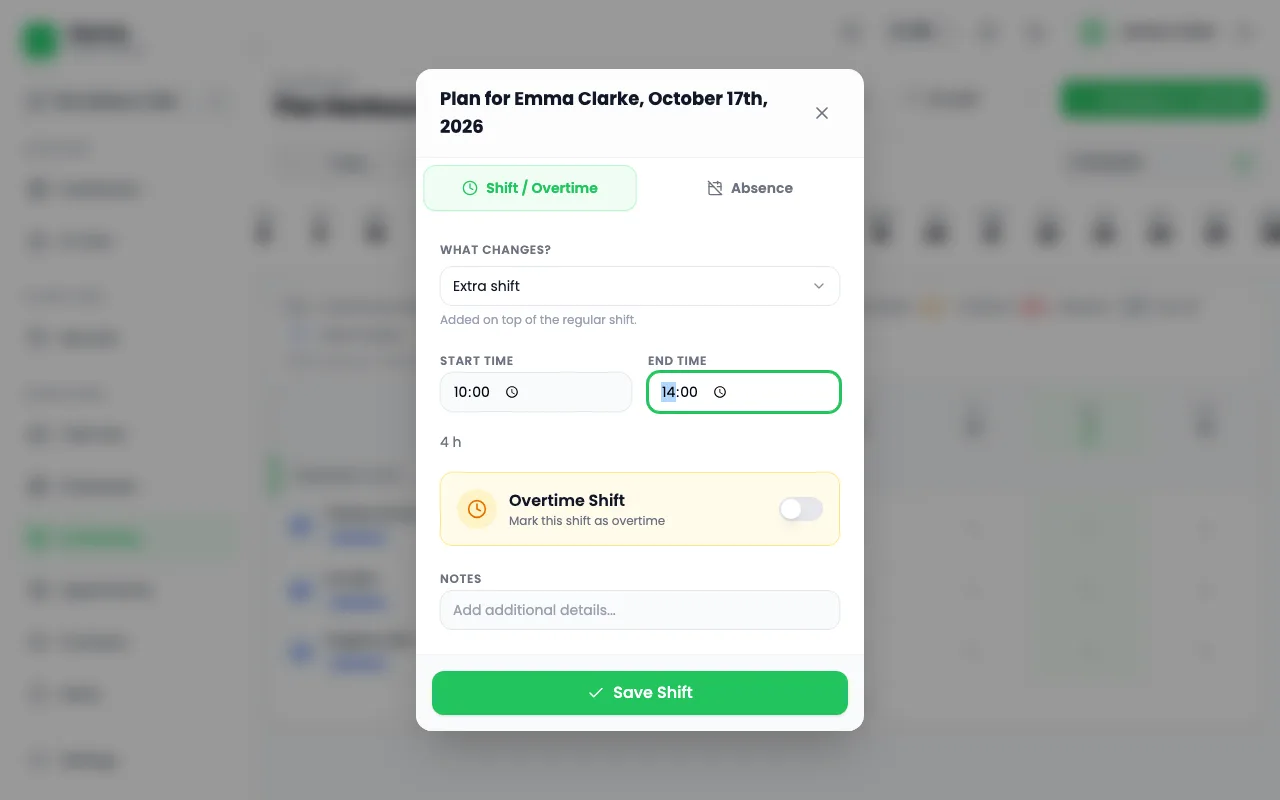
- Select a cell and choose the entry type: Extra shift, Different hours, Absence or Day off.
- For on-call work, use Add on-call shift.
- Select Save Shift, Save Absence or Save On-Call.
You can always plan, whatever the module switch says for the client.
Understand the rule checks
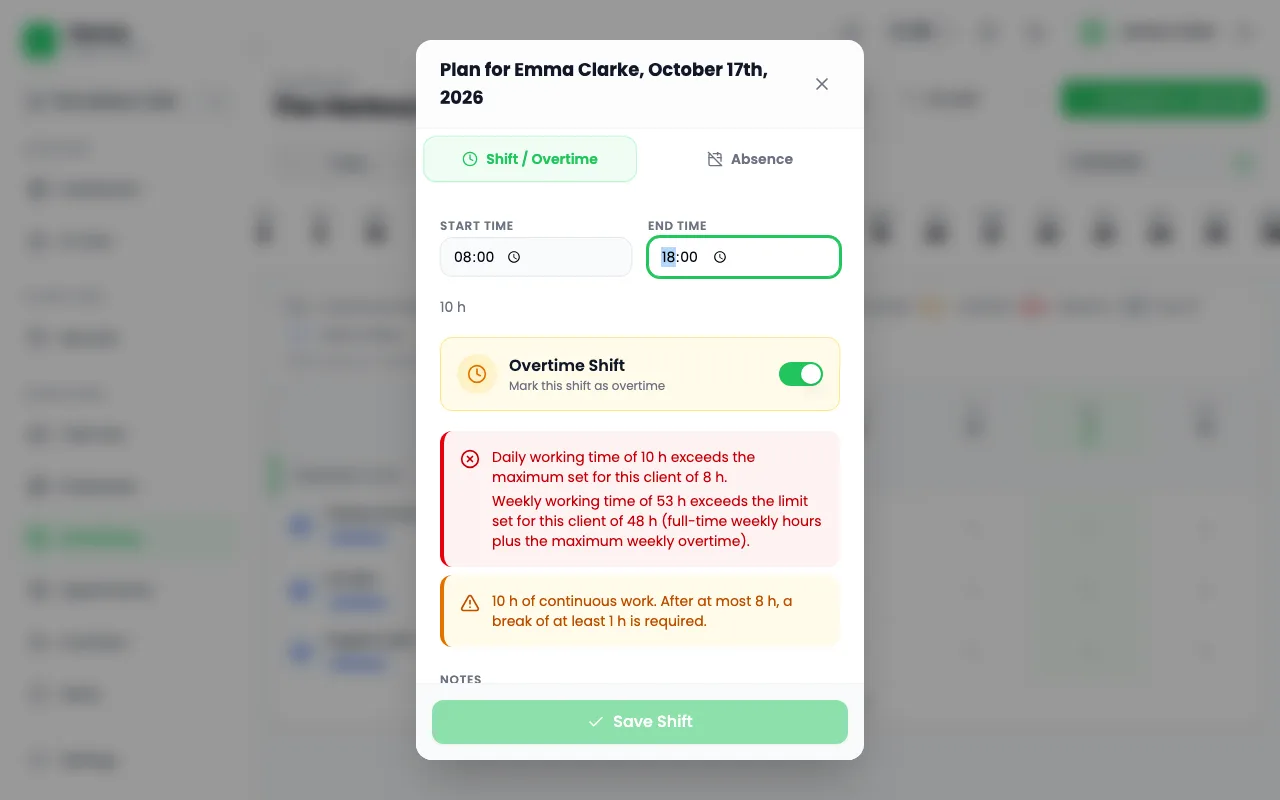
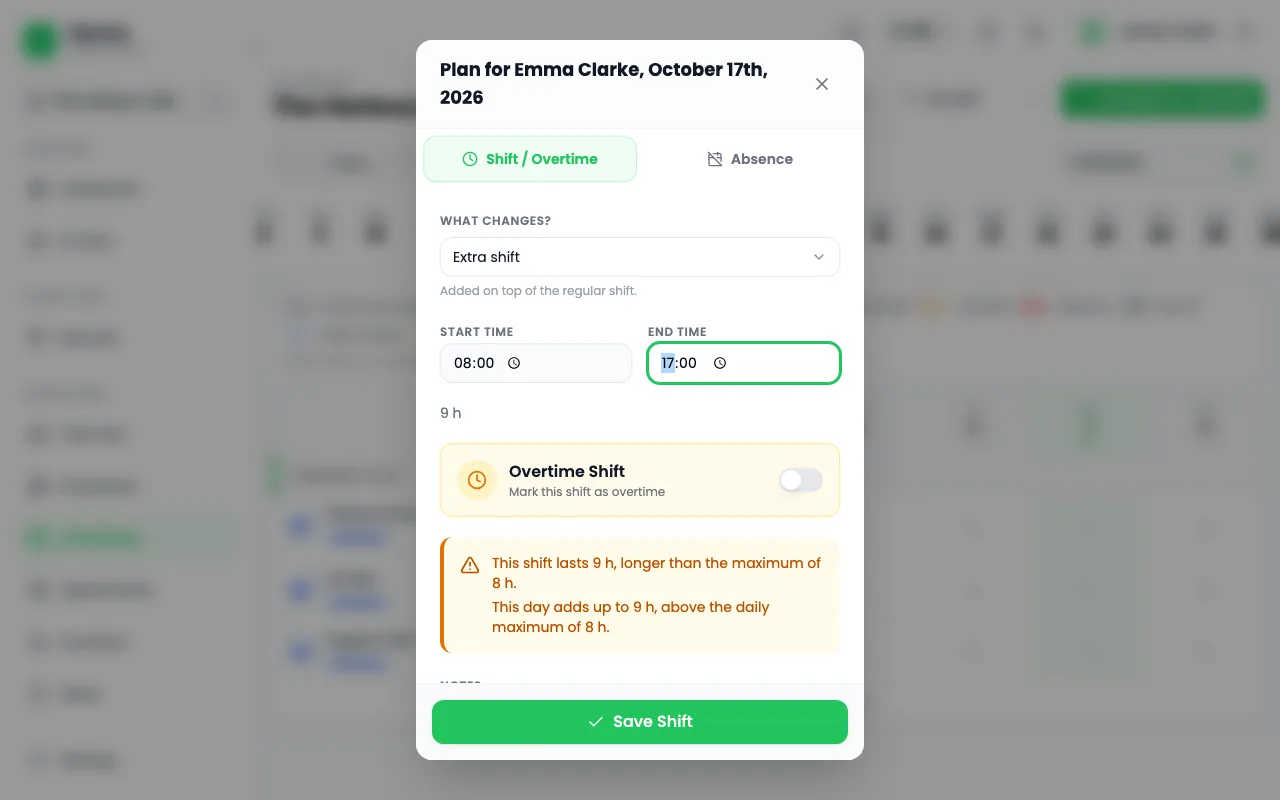
- Every entry is checked at once against the limits set for the client.
- With the generic profile these are the firm's own limits, such as the maximum hours per day and per shift. A message reads, for example, that a day's total exceeds the daily maximum.
- A rule break shows either a red error, Cannot Save, which blocks saving, or an amber warning.
- Change the times to clear an error. With a warning you can still save if there is a reason.
Check and correct entries
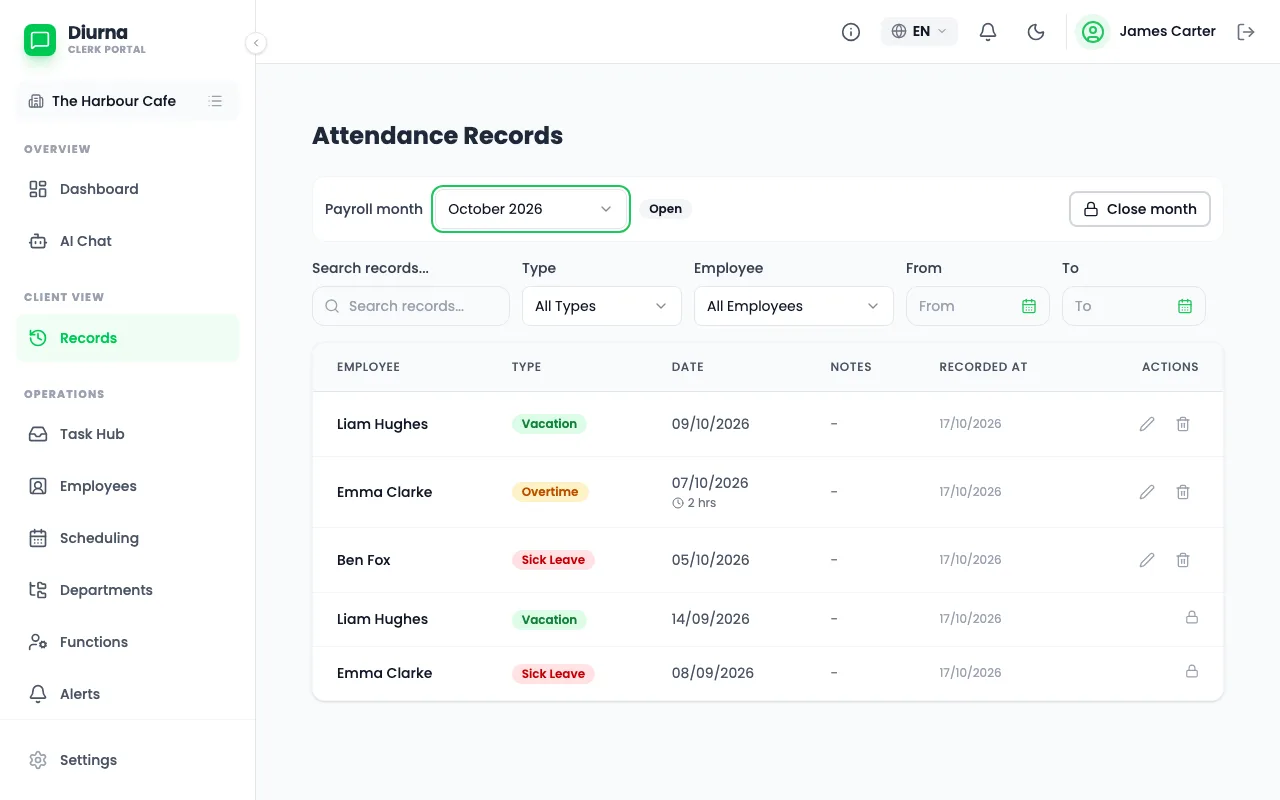
- Open Records, titled Attendance Records.
- Filter by type or employee, or search, and use Clear filters to start again.
- Edit an entry with Edit Record or remove it with Delete Record.
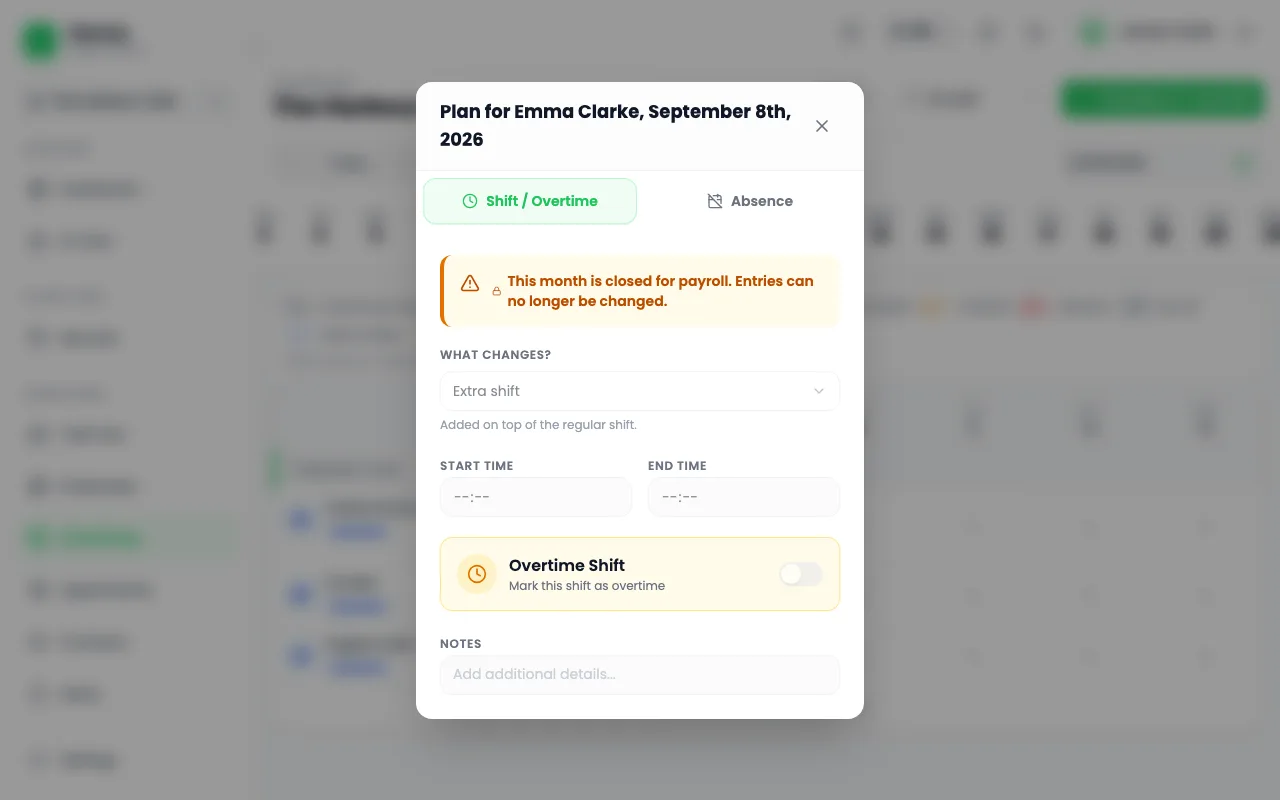
Entries in a locked period show a lock and cannot be changed.
Close the month
- Open Records and pick the client and the month.
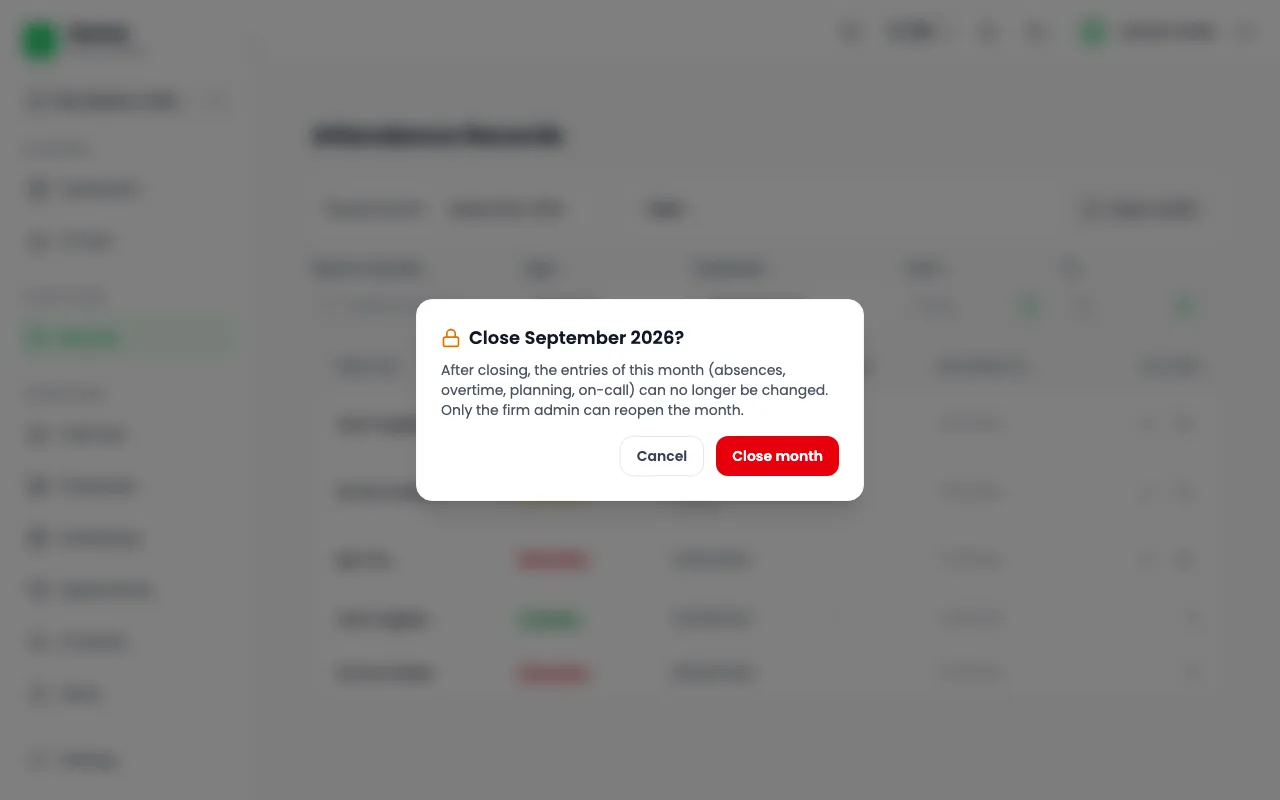
- Select Close month.
- Confirm in the dialog.
The month then locks for everyone, including the business owner. The chat refuses entries for that month with a clear message. Only the firm admin can reopen it, and only with a reason.
Export reports
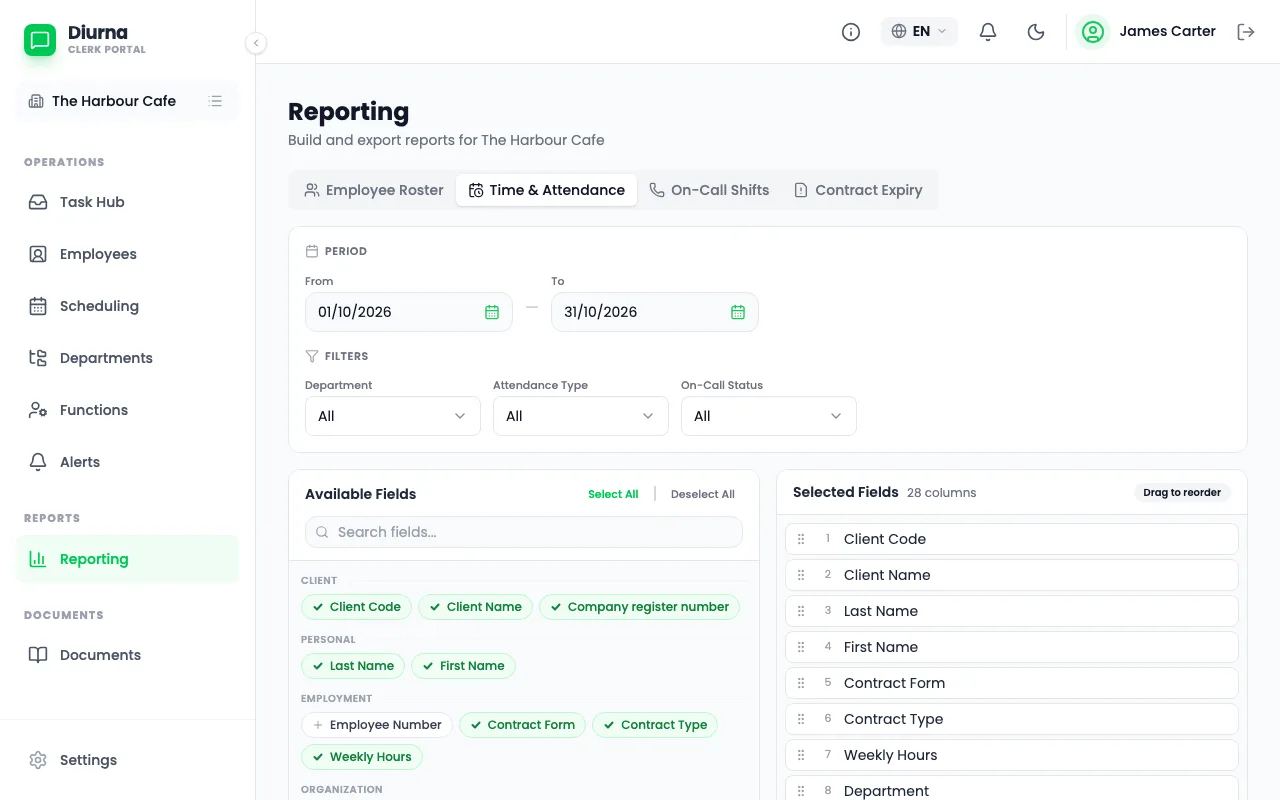
- Open Reporting.
- Choose a tab: Time & Attendance, Employee Roster, On-Call Shifts or Contract Expiry.
- Choose the period and the Format: CSV or Excel (XLSX).
- Export the file.
Use Save Template to keep a layout, and Load Template to use it again. My Templates and Shared Templates list them.
Hand over to payroll
- Close the month first.
- In Reporting, open Time & Attendance.
- Export it as CSV or Excel (XLSX).
- Import it into your payroll software, or type the hours in.
The payroll handover is the time and attendance export, and it works with any payroll software.